> ## Documentation Index
> Fetch the complete documentation index at: https://docs.guin.ai/llms.txt
> Use this file to discover all available pages before exploring further.
# Quickstart: from sign-up to your first export
> Create an account, upload footage, tell Guin what you need, review what comes back, and export a finished video.
This walks you through one full pass: upload footage, get clips back, fix what needs fixing, and export. You do not need any editing experience.
Sign up at [studio.guin.ai](https://studio.guin.ai/sign-up?ref=docs). On your first visit Guin asks a few short questions about what you make, then takes you to **Home**.
Home offers two doors.
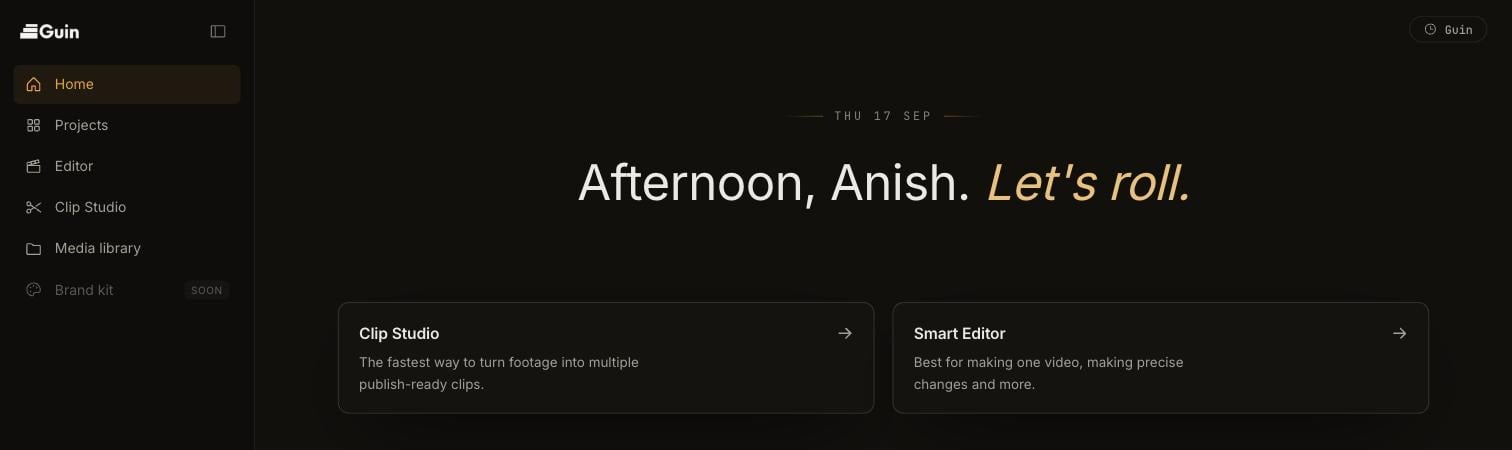 * **Clip Studio** is the fastest way to turn footage into several publish-ready clips.
* **Smart Editor** is best for making one video and for precise changes.
If you are not sure, start with Clip Studio. You can open any clip in the Smart Editor later.
Click **Upload** and pick your files, or choose footage you have already uploaded from **Media library**. Messy footage is fine. You do not need to trim, rename, or sort anything first.
Guin starts preparing each file as soon as it uploads: it transcribes the audio, finds the shots, and watches what happens on screen. Longer files take longer. You will see states such as *transcribing*, *analyzing footage*, and *finding shots* before a file shows as **Ready**.
Type what you want the way you would text a person. Name the number of clips, the platform or shape, and anything you care about.
* **Clip Studio** is the fastest way to turn footage into several publish-ready clips.
* **Smart Editor** is best for making one video and for precise changes.
If you are not sure, start with Clip Studio. You can open any clip in the Smart Editor later.
Click **Upload** and pick your files, or choose footage you have already uploaded from **Media library**. Messy footage is fine. You do not need to trim, rename, or sort anything first.
Guin starts preparing each file as soon as it uploads: it transcribes the audio, finds the shots, and watches what happens on screen. Longer files take longer. You will see states such as *transcribing*, *analyzing footage*, and *finding shots* before a file shows as **Ready**.
Type what you want the way you would text a person. Name the number of clips, the platform or shape, and anything you care about.
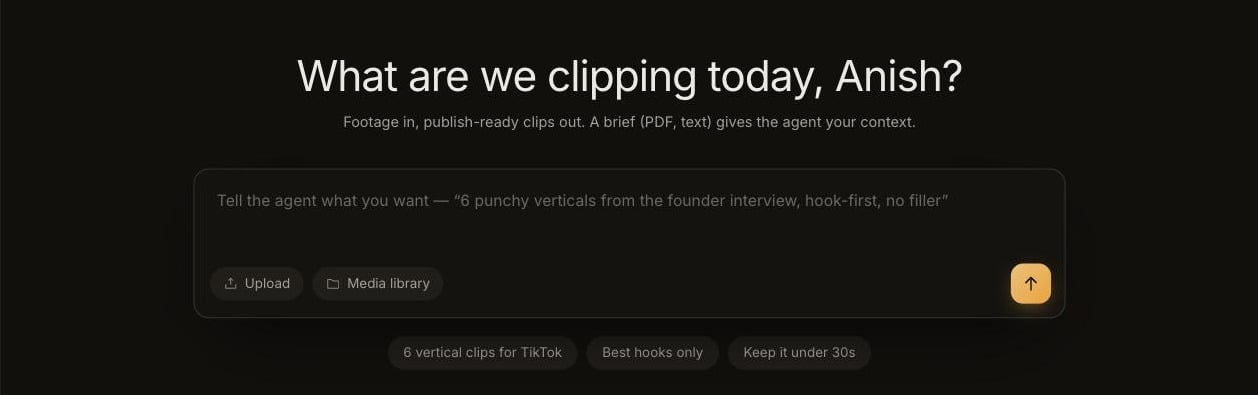 For example: `6 punchy verticals from the founder interview, hook-first, no filler`.
Guin reads the footage, chooses the moments, and shows you a plan before it cuts anything. Read it, change it if it missed something, and approve it. Guin then cuts, reframes, and captions each clip.
Watch each clip. Ask for changes in plain words, such as `shorter`, `punchier hook on the first clip`, or `drop the shaky shot`. For exact control, open the clip in the Smart Editor.
Click **Export**, choose a resolution and format, and download the file when the render finishes. Exporting is the point where a plan is required. See [Plans and pricing](/account/plans-and-pricing).
## Next steps
How to ask for clips and what each stage of a run means.
Work with the Director and the timeline.
For example: `6 punchy verticals from the founder interview, hook-first, no filler`.
Guin reads the footage, chooses the moments, and shows you a plan before it cuts anything. Read it, change it if it missed something, and approve it. Guin then cuts, reframes, and captions each clip.
Watch each clip. Ask for changes in plain words, such as `shorter`, `punchier hook on the first clip`, or `drop the shaky shot`. For exact control, open the clip in the Smart Editor.
Click **Export**, choose a resolution and format, and download the file when the render finishes. Exporting is the point where a plan is required. See [Plans and pricing](/account/plans-and-pricing).
## Next steps
How to ask for clips and what each stage of a run means.
Work with the Director and the timeline.